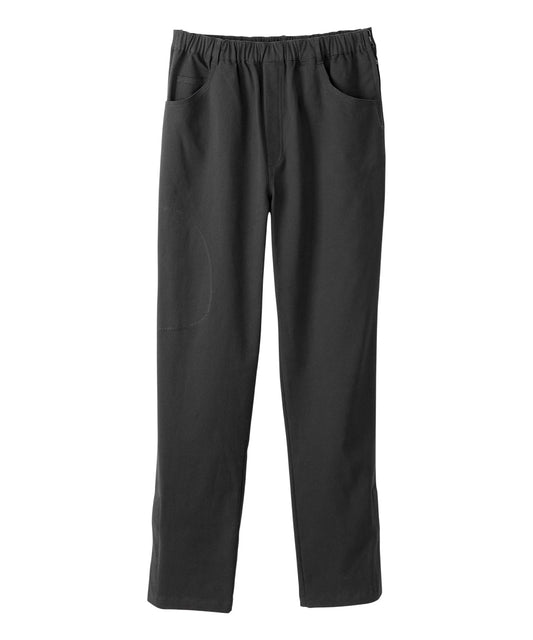
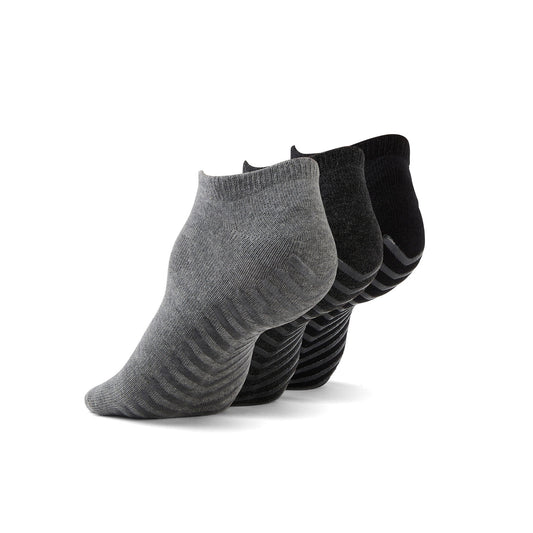
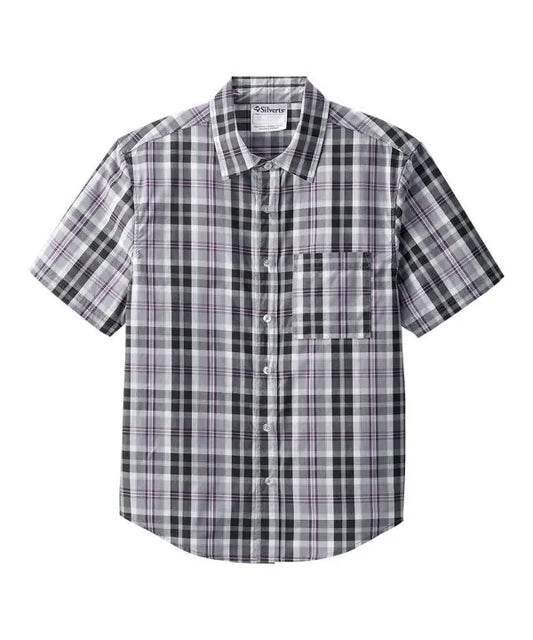
Hip surgery can be especially difficult on any daily tasks that involve maneuvering your legs. It’s in your best interest to keep as much pressure off your replaced hip as possible, but this is easier said than done. Patients commonly struggle with wearing underwear during recovery. It requires some adjustment, but there are ways to do it.
Best Underwear for Hip Replacement Surgery
Your choice of underwear can affect both the dressing process and your overall recovery. Loose cotton briefs with a high-rise waist will suit most hip-surgery patients. Cotton provides essential airflow to the patient’s skin. Since you might bathe less frequently following surgery, this ventilation can provide better comfort. The softness of cotton also reduces the possibility of your skin and scar tissue chafing.
It is recommended to order underwear a size larger than what you usually wear. The extra room will make the underwear easier to put on and take off. Loose-fitting underwear will also accommodate any swelling that may occur from your surgery.
Avoid any styles that are skin-tight or any fabrics that may irritate your skin. These will be difficult to wear and may aggravate your scar tissue, slowing your healing process. If you can, try to find out where the incision and resulting scar will be for your surgery. This information may make it easier to find the right underwear shape for you.

June Adaptive sells several types of underwear that can make dressing easier post-hip surgery. These soft and breathable panties are made of 100% cotton for maximum comfort and airflow to your skin. June Adaptive also sells packs of open-front underwear. Both the brief style and the panty style come with easy-touch closures that are easier to put on and remove. The closures are located down the side of your leg with an extra flap along the back that opens up too. Rather than struggling to move your healing hip and risking damage, you can pull open the underwear to remove it without having to move your lower body that much. The open-front underwear also contains cotton to improve breathability and skin comfort. If the patient has assistance with dressing, the closures are also easily accessible to a caregiver.


Keep your size requirements in mind when shopping for underwear. Most underwear, including those from JuneAdaptive, are final sale. Make sure you have the right size for you and try a size up. This way, you won’t end up wasting money on underwear that doesn’t suit your body or your needs.
Now that you have the right underwear for your body, you still have to deal with the challenge of putting them on. If you decide to purchase open-front underwear, the closures will let you or your caregiver open or close them without much trouble.
For traditional underwear, maneuvering around your operated leg can be difficult. However, a couple tools and the right environment can make it easier. Purchase a grabber or a similar tool, preferably before your surgery. Keep it within reach of your closet or dressing area. You’ll also need somewhere to sit. Make sure your seating area is low enough to the ground for you to reach the floor with your grabber without bending over. Bending would put pressure on your hip, so it should be avoided. Keep your walker nearby to make it easier to stand.
Once you have all the necessary tools within reach, you should be ready to begin. You can use this process for other lower-body wear, like shorts or pants.
How to Put on Underwear After Hip Surgery
- Sit with your grabber and walker within a convenient distance.
- Use the grabber to pick up your underwear and place it on the floor. Make sure you don’t bend over at all. This will put pressure on your hip.
- Use your grabber to move your underwear over your foot. Start with the foot on the side where you had the surgery. Fully put your foot through so you can make sure you don’t accidentally slip the underwear off.
- Slide the other foot into the underwear using the grabber again.
- Using the grabber, pull the clothing as far up as you can while sitting. Make sure your feet are all the way through, especially when using this method for pants or long skirts. If you try to stand up before your feet are all the way through, you could trip and get injured.
- Using your walker or standing support, stand up and pull the underwear on the rest of the way. Keep one hand on the walker if you need to.
Lindsay, the Occupational Therapist behind the YouTube channel Equipment, provided another solution for lower-body dressing after hip replacement. She learned about it from a 90-year-old WW2 veteran who says he’s used it successfully for a very long time. The process involves a DIY tool that you or a loved one can make.
The alternative solution is hand clamps attached to a rope with a cylinder of foam to form the handle. The foam handle is not necessary, but it can provide a better grip and prevent the device from getting tangled. For the hand clamps, “spring” style ones work well, but they require a lot of grip strength. They may tire out your hands, especially if you have limited hand dexterity. Alternatively, “ratcheting” hand clamps can be moved into position and released with a lever, requiring very little grip strength. Using plastic-coated rope also prevents fraying and can help the device last longer.
For the full breakdown and visual guide for how to make the device, check out the full article here. To summarize, you’ll want to cut a piece of rope that’s double the length from your hip to your foot. Then you can cut the foam cylinder to a comfortable handle size and slide the rope through. Tie the rope to your hand clamps to complete the device.
Just like the other method, make sure your seating area is comfortably low to the ground so you don’t bend over while dressing.
How to Put on Underwear After Hip Replacement Surgery Using a DIY Clamp Device
- Start by placing your pants with the front facing up and attach the clamps to the left and right sides. Attach the clamps to the left and right sides of your underwear or pants.
- Move your feet into the pants and slide them through. Lindsay recommends not wearing socks during this process to prevent friction.
- Pull your underwear as high as you can and detach the clamps
- Pull your underwear all the way up, and adjust the placement as needed. You can repeat the process to put on your pants, skirt, or shorts afterwards.
The slight advantage of this method over a grabbing tool is the ability to evenly maneuver your underwear, pants, or skirt from both sides instead of just one side like with the grabber. However, it may not work as well for removal. Removing underwear or pants with this device would require you to cross your foot behind the other and remove each leg by pressing with your foot. This will likely be difficult or impossible to do after a hip surgery. For removal, Lindsay instead suggests a long-handled shoehorn, a dressing stick, or a grabber to move your garments off your feet without bending over.
Whichever method you end up using, removing your underwear will essentially be the reverse of whichever process you used to put them on.
How to Remove Underwear After Hip Surgery
- If using a clamp device, attach both clamps to one side of your underwear. Keep a hold on the rope or foam handle throughout the process.
- While standing, pull down your underwear as far as you can without bending, then sit down. Use your grabber or clamp device to pull your underwear down to the floor. With the clamp device, the weight of the clamps should help weigh down your underwear to the floor.
- Use a long-handled shoehorn, dressing stick, or grabber to remove your underwear from the bottom of your feet.
- Use your grabber or clamp device to pick your underwear up off the floor. If using the clamp device, release the clamps. Place your underwear in the appropriate place.
Both your choice of underwear and how you wear them are important factors to consider after your hip surgery. Recovery will be difficult but planning your dressing tools and purchasing the right garments can make a small part of your healing process a little easier.


